Launch New Instance of Switchboard Cloud™
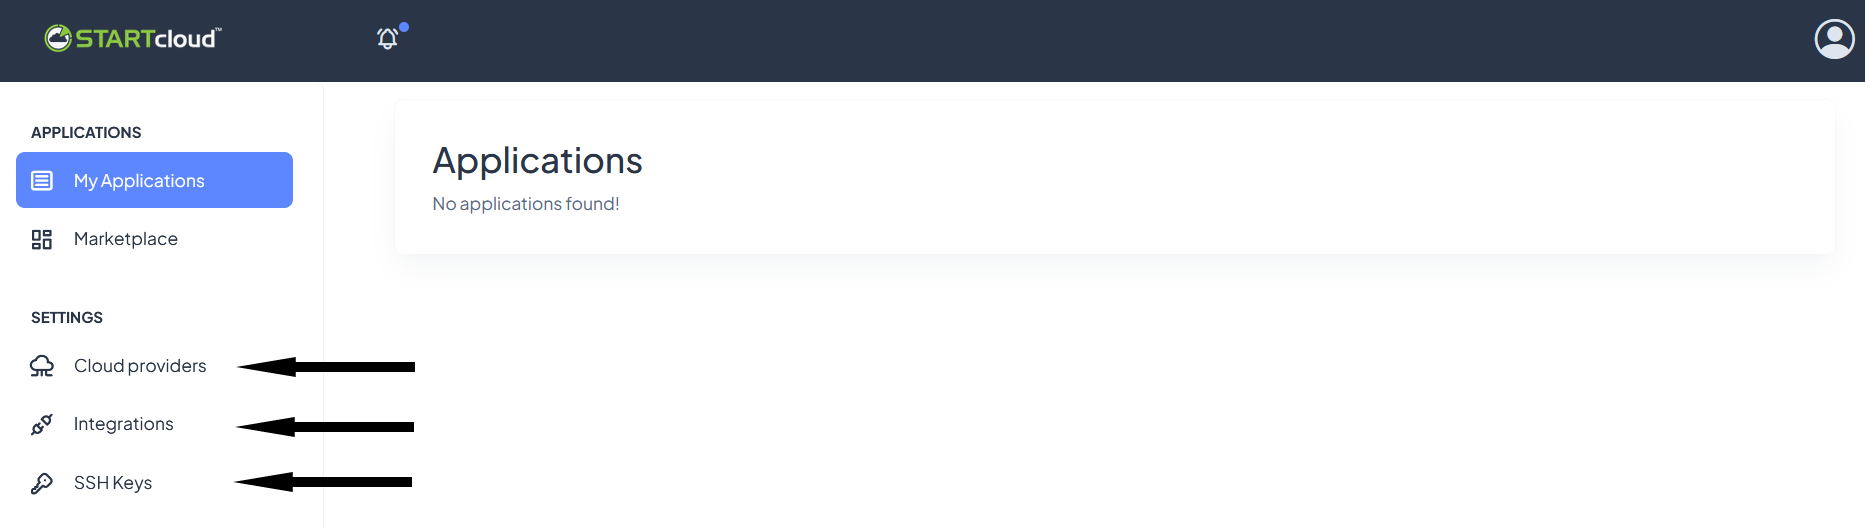
Before creating your first Switchboard Cloud™ Instance, go to the Settings section and create at least one Cloud Provider, an SSH Key and the minimum Integrations necessary to launch your new instance.
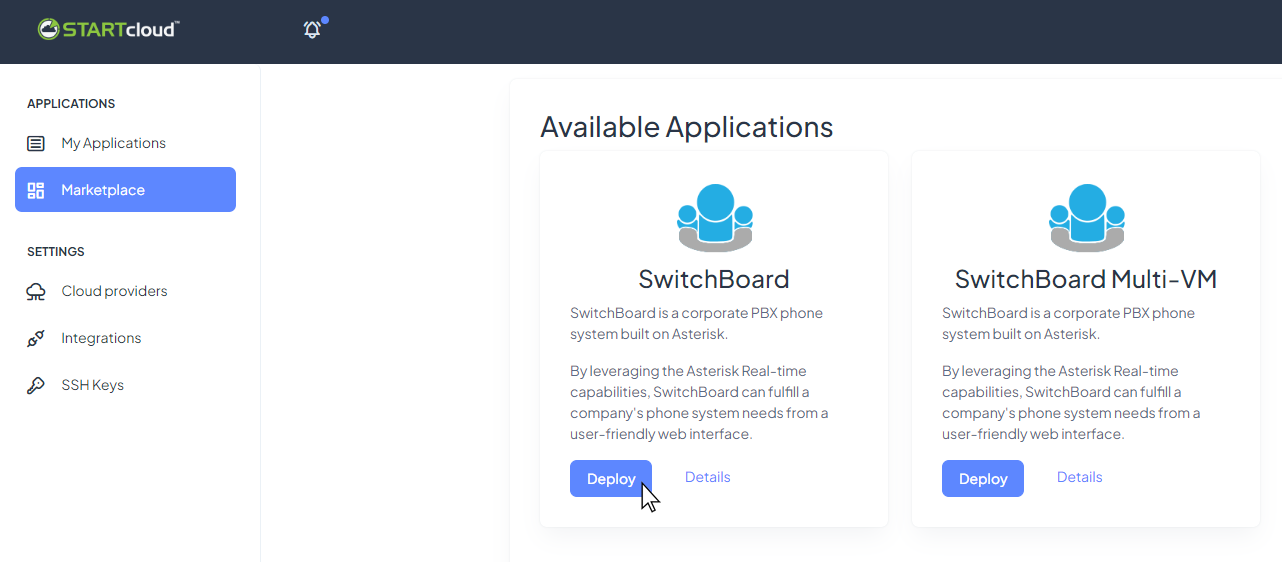
After completing the previous steps, go to the Marketplace menu option and choose to deploy the Switchboard Cloud™ application.
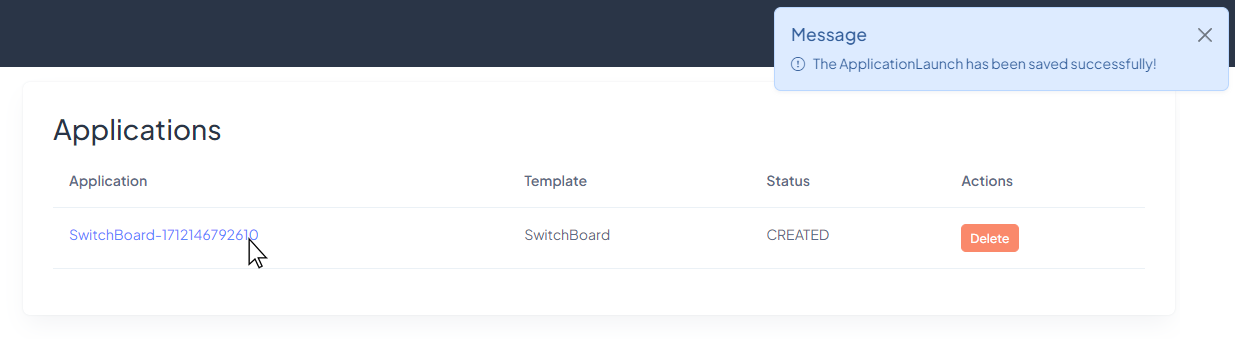
You will immediately see an application in the list, click on its name.
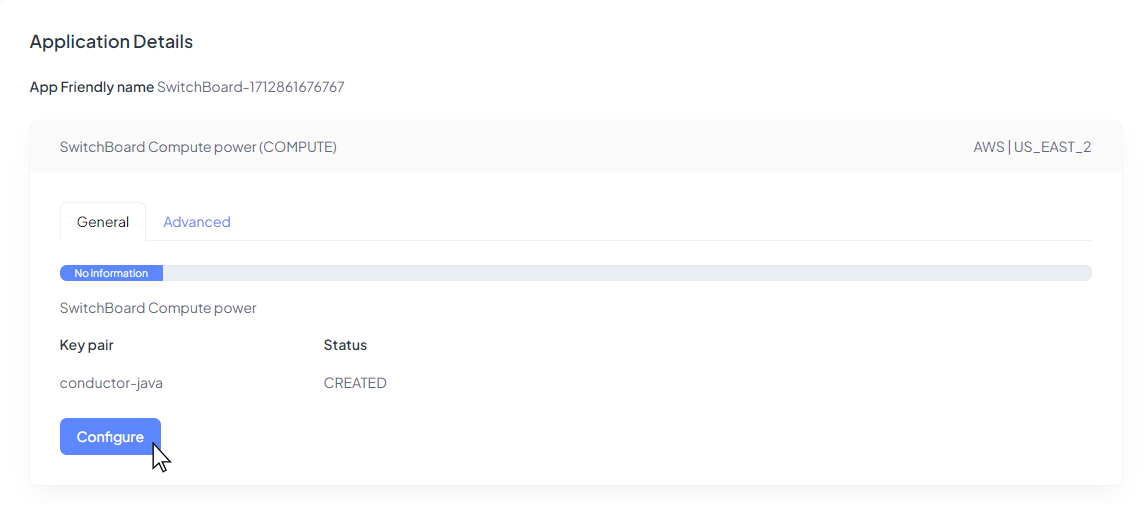
And proceed to Edit the details of this application.
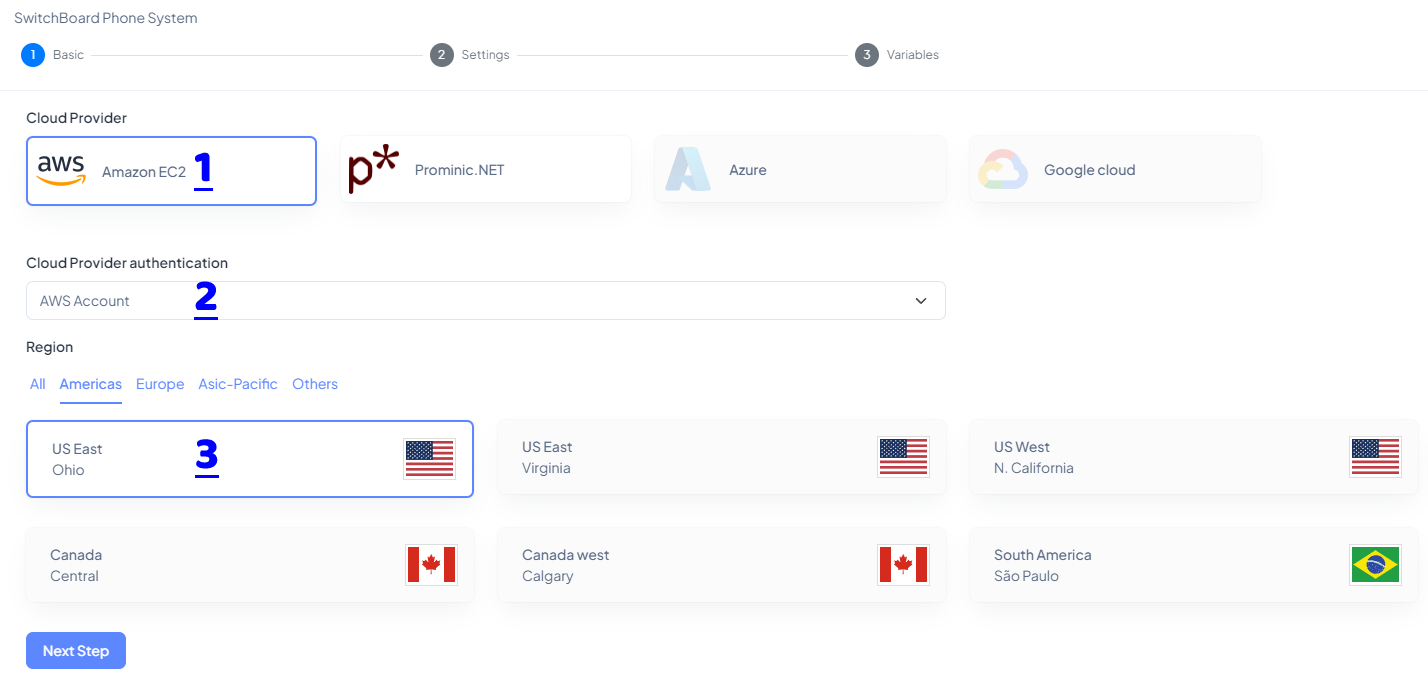
In the next step, select:
- The provider where you want to deploy your instance.
- The cloud provider authentication. That integration previously done following the guide on the Cloud Providers page.
- The region: Cloud providers host computing resources in multiple locations around the world. You can choose where to deploy your application, preferably close to your end users.
Now select,
- An SSH Key with which you want to authenticate the STARTcloud™ application on your cloud provider.
- Also, in the Rule Type, enable traffic for ports 5060-5061 which are the ones Asterisk® uses for communications.
- And lastly add your IP address to the allowed IP range.

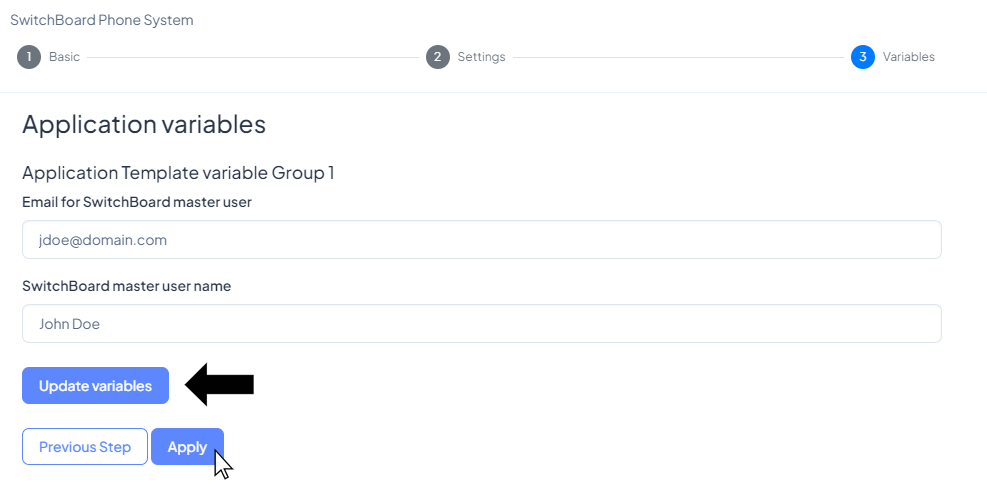
Set up the email address and full name of the administrator user for the telephone application.
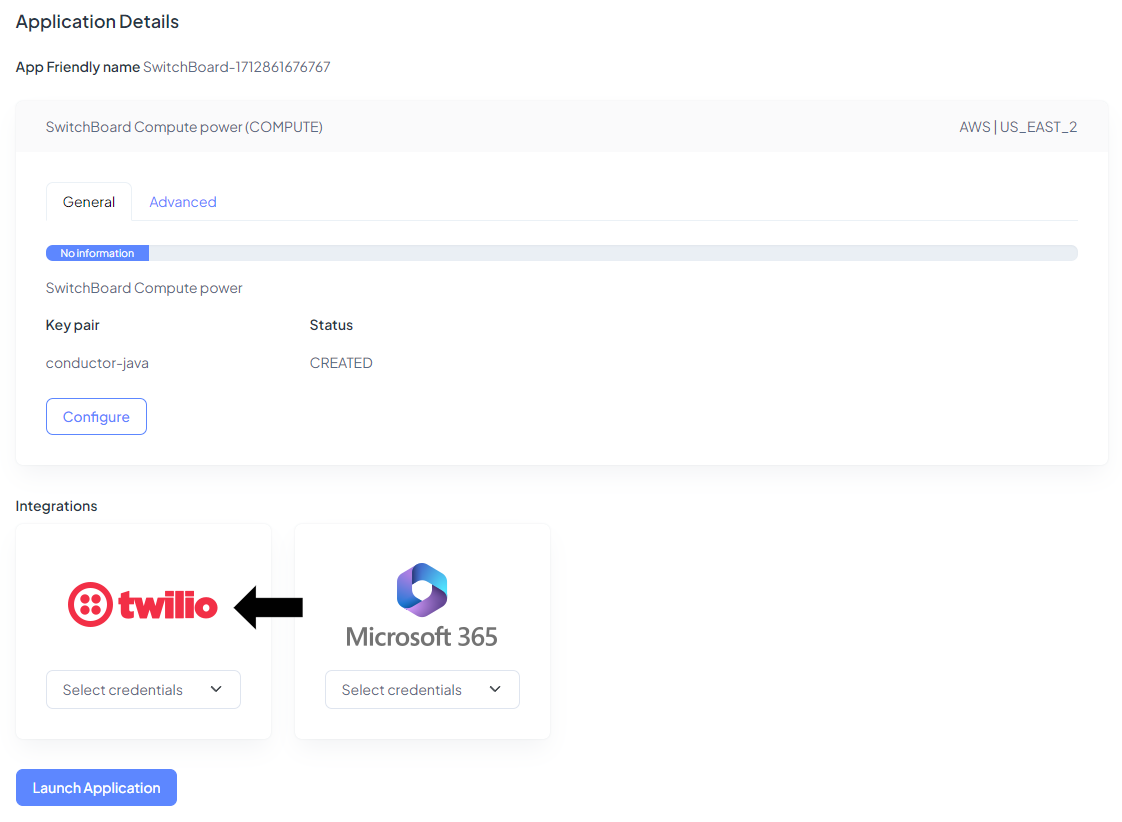
Select the necessary integrations before launching the new instance. Integration with a telephone service provider is required, not optional.
It will take about 2 minutes before you see any progress in the progress bar.
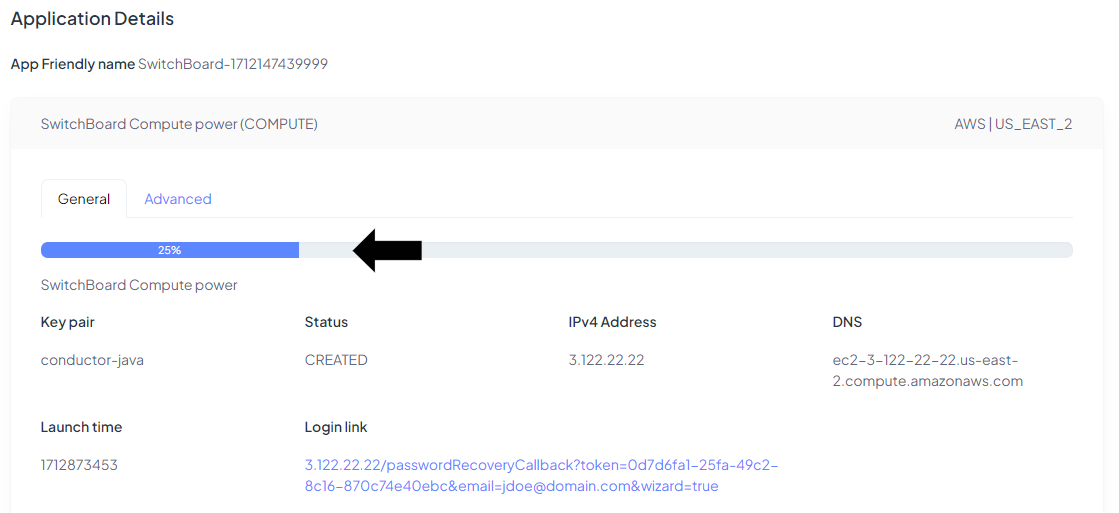
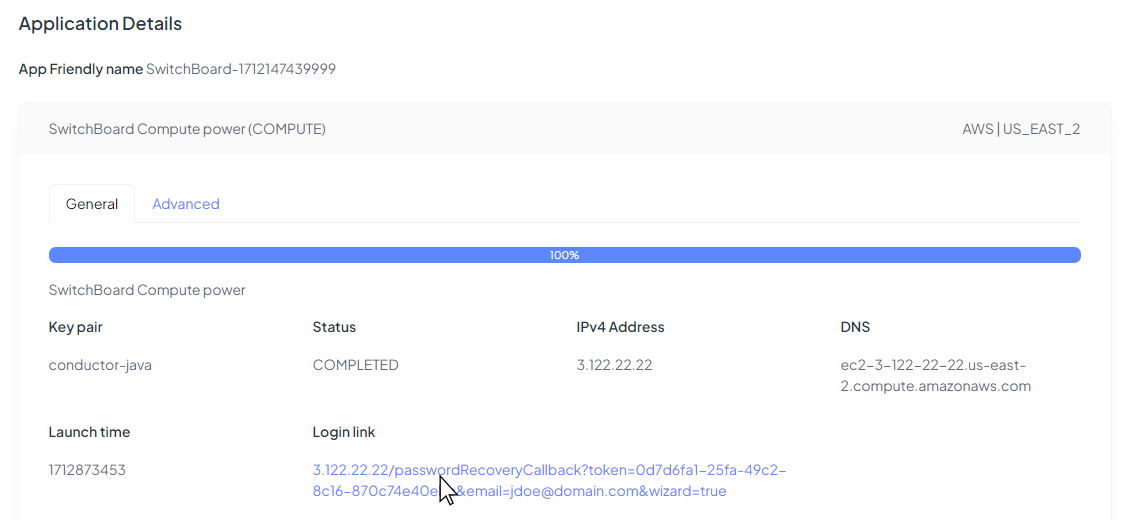
The instance will take about 20 minutes to reach the COMPLETED status. Once the process is finished you can access it from the login link.
Welcome to the set-up wizard of your new telephone application. Set a login password for your Administrator user.
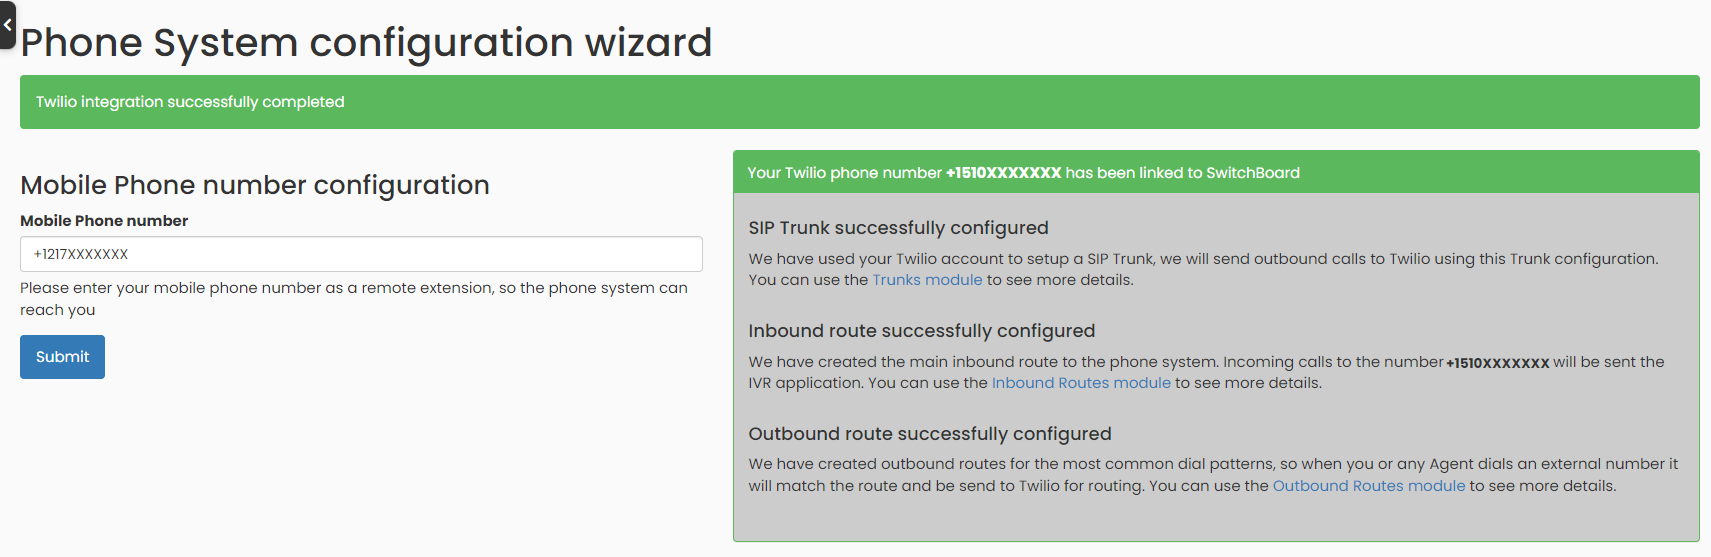
In this step an initialization process will be executed. In this way we will automatically create a SIP Trunk, an Inbound Route, as well as some Outbound Routes for the main telephone patterns. These are all necessary steps for a phone application to make and receive phone calls. The SIP Trunk is the link between your Telephone Service Provider and your Switchboard Cloud™ application. You can find more details about SIP Trunks here.

Now, we will create the first phone extension, which will be your mobile phone number. Please enter it below.
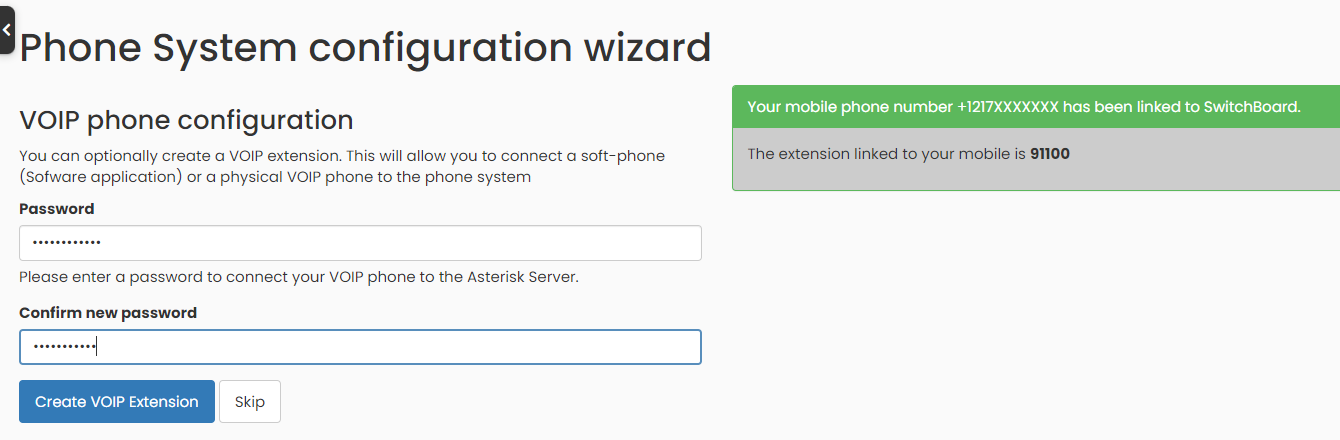
Also, you can configure a VoIP phone in this step, or if you wish you can do it later. A password will be required to establish a connection with each peer. Set up one in this step and don’t forget to save it in your records.
The initialization process of the Phone System has been completed.
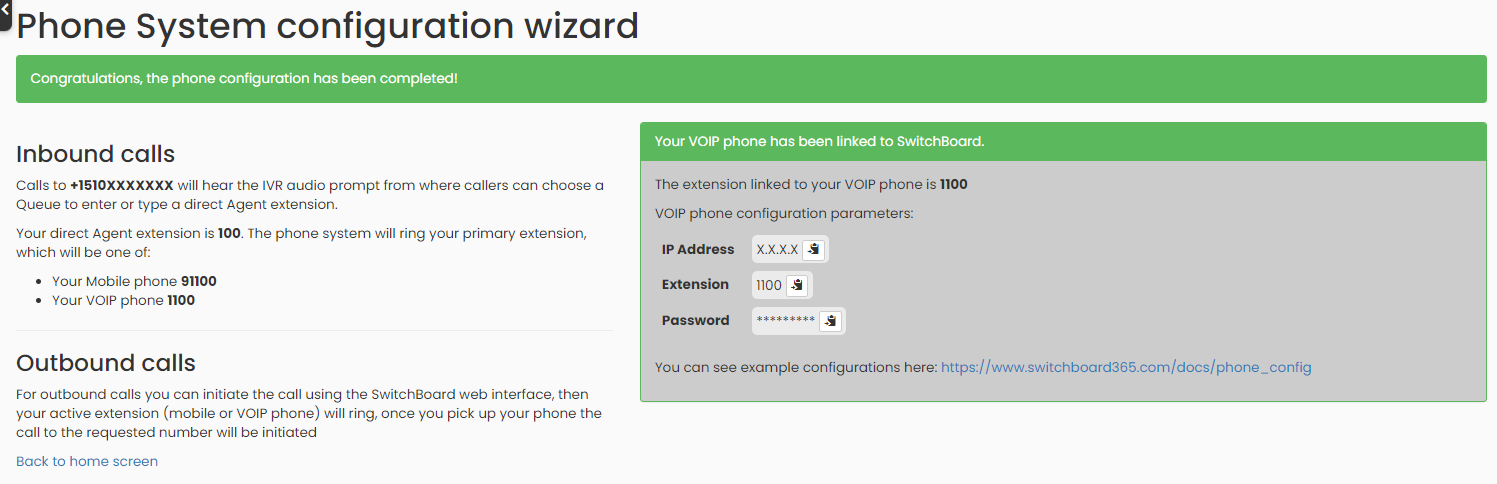
Next, you can then use the IP Address, Extension and Password shown on this screen to configure your VoIP phone so that it can connect to the telephone interface. More details on how to do it here.


