Cloud Providers
STARTcloud™ is able to deploy and manage applications across multiple cloud-providers. Before launching your first Instance, you need to give us access to your on-demand cloud platform provider.
-
AWS
- Create a New User
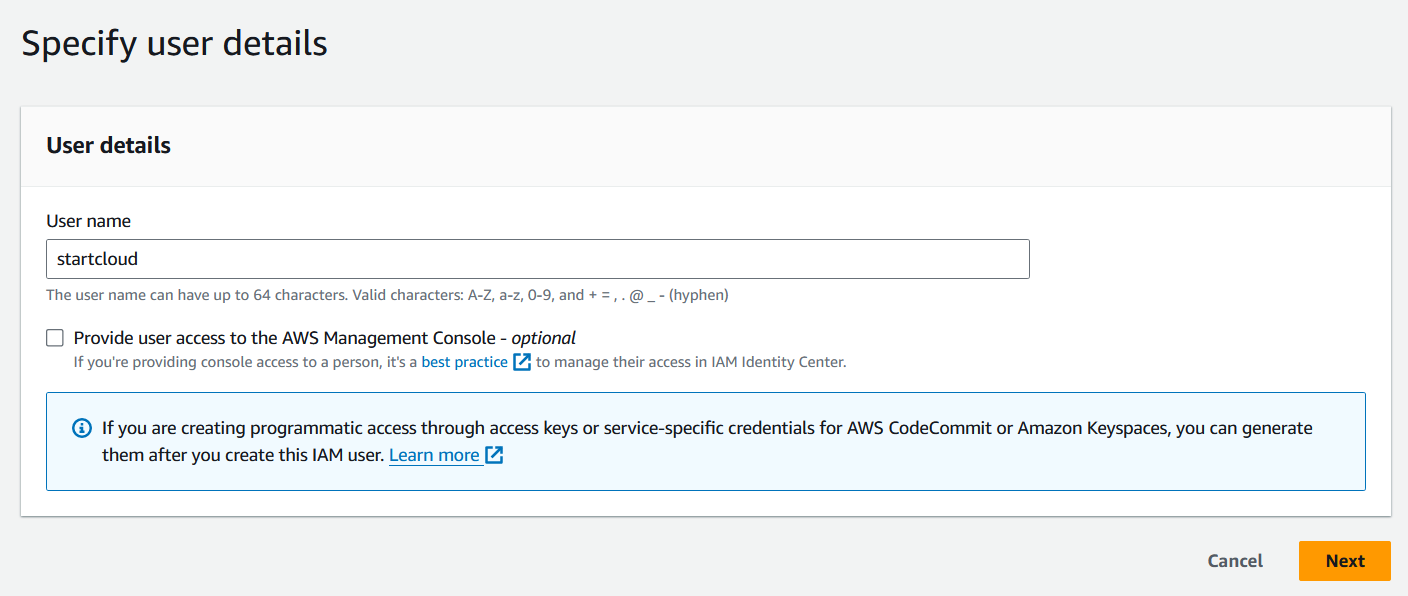
If you choose to use AWS, please sign in to your account there. At the top left go to the menu option Services -> IAM -> Users -> Create User.
Assign a referential user name for access to the application you are going to launch. Also, you can leave the Provide user access to the AWS Management Console option unchecked.
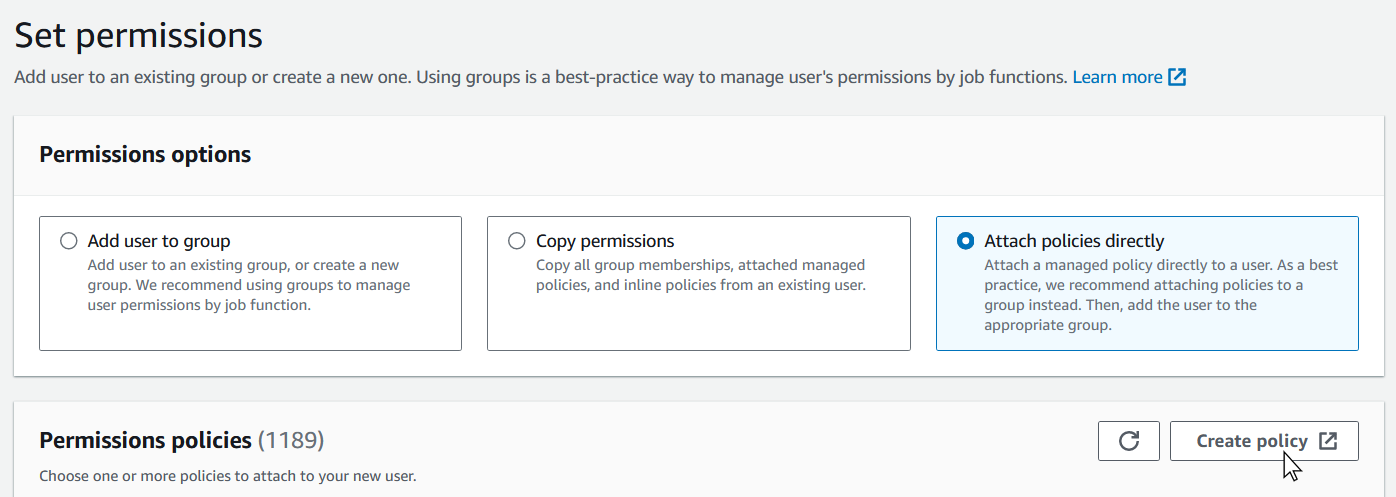
Select Attach policies directly and then Create policy.
Now, choose JSON and replace the content in the Policy editor with the following code. Then click Next.
(Note that you will be giving access with the access key that we are creating, only to the application at the IP Address 192.103.6.92).
{
  "Version": "2012-10-17",
  "Statement": [
    {
      "Effect": "Allow",
      "Action": [
        "ec2:RunInstances",
        "ec2:TerminateInstances",
        "ec2:StopInstances",
        "ec2:StartInstances",
        "ec2:MonitorInstances",
        "ec2:ModifyInstanceAttribute",
        "ec2:UnmonitorInstances",
        "ec2:Describe*",
        "ec2:CreateTags",
        "ec2:CreateVolume",
        "ec2:CreateSnapshot",
        "ec2:ModifyImageAttribute",
        "ec2:CreateKeyPair",
        "ec2:DeleteKeyPair",
        "ec2:CreateSecurityGroup",
        "ec2:DeleteSecurityGroup",
        "ec2:AuthorizeSecurityGroupIngress",
        "ec2:AllocateAddress",
        "ec2:AssociateAddress",
        "ec2:ReleaseAddress"
      ],
      "Resource": "*",
      "Condition": {
        "IpAddress": {
          "aws:SourceIp": [
            "199.103.6.91/24"
          ]
        }
      }
    }
  ]
}
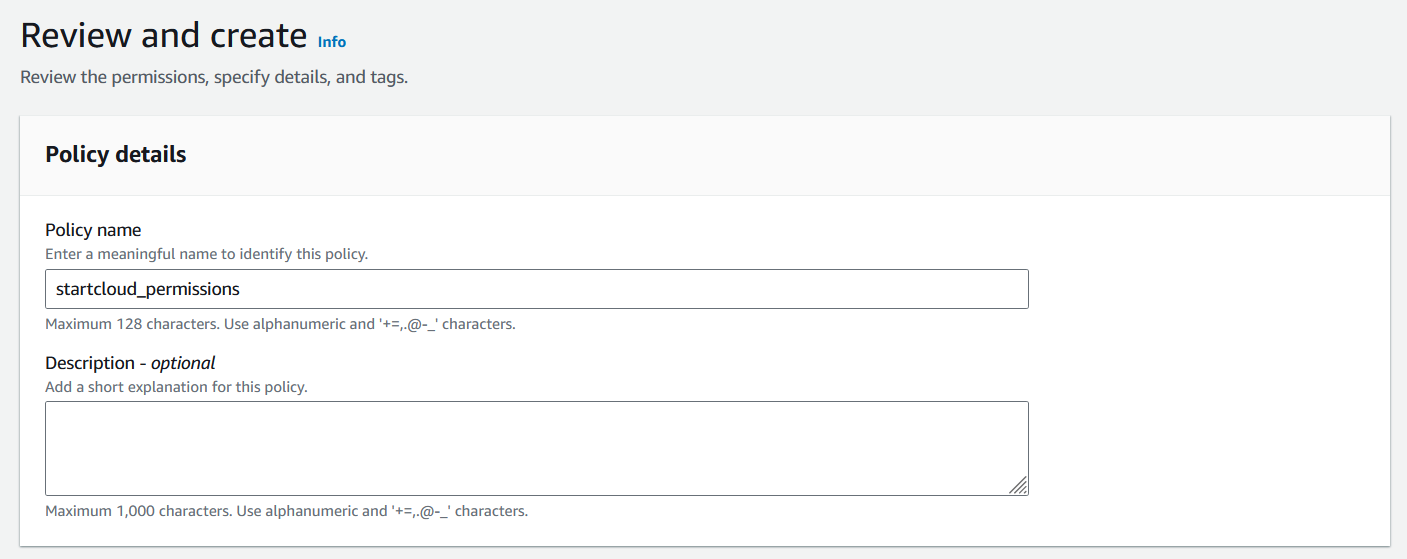
Set a Policy name and click Create Policy.
Go back to the list of Users and click on Create User using the policy we just created. (You can use the search field to find it). Click on Next and the user should have been created successfully.

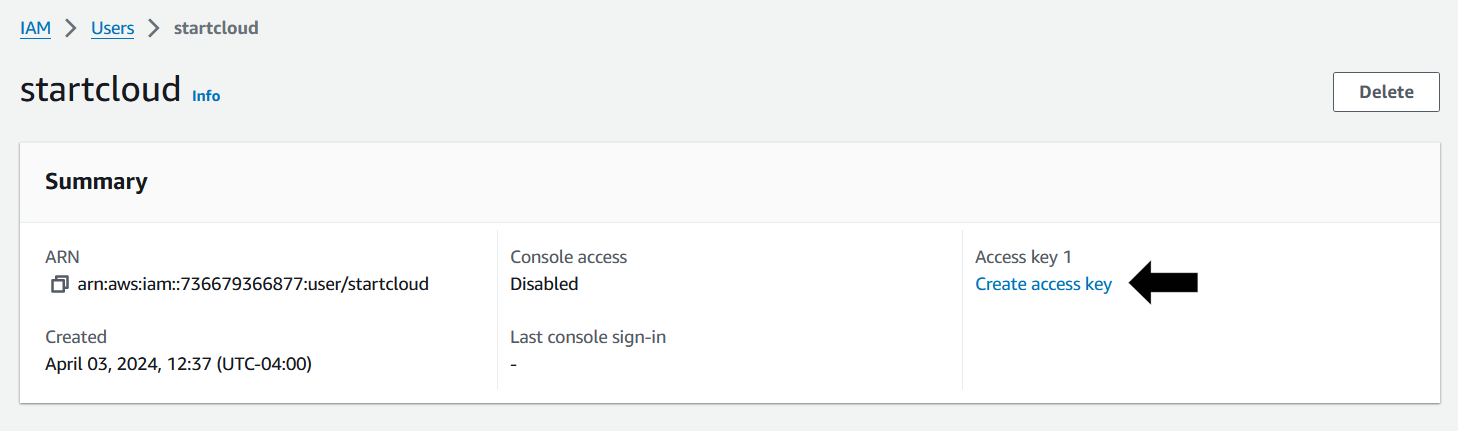
- Create Access Key
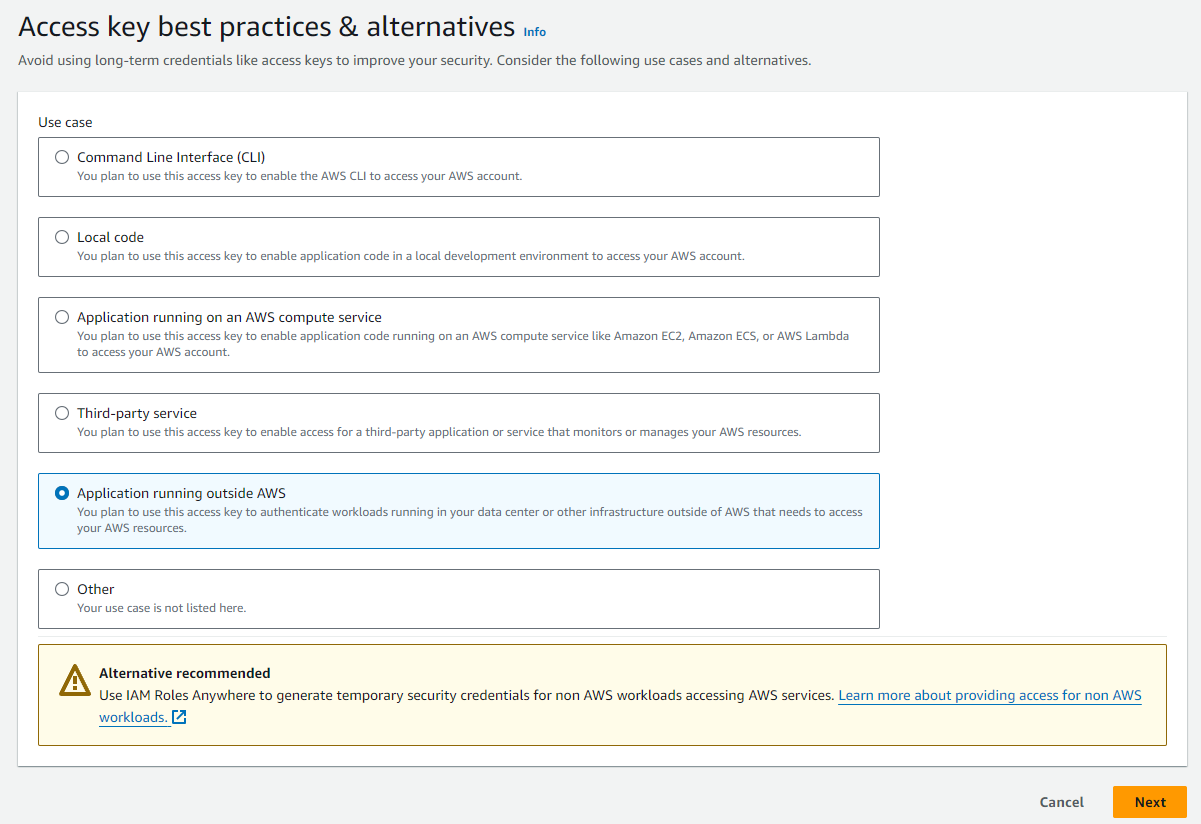
Go back to the Users list and choose the user you just created. Now select the Create Access Key option.
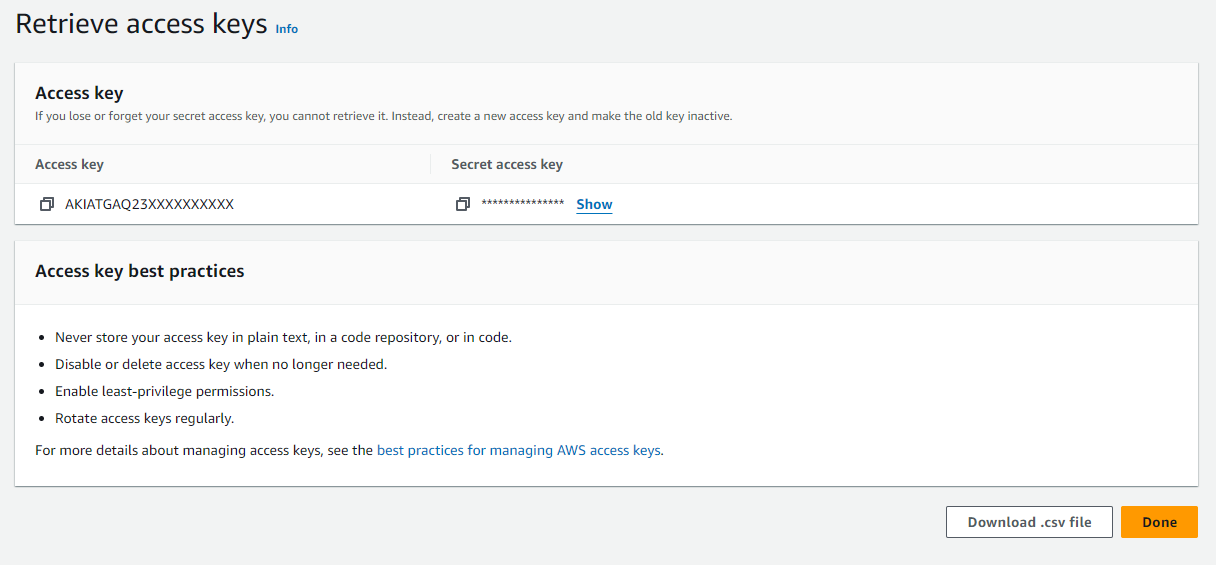
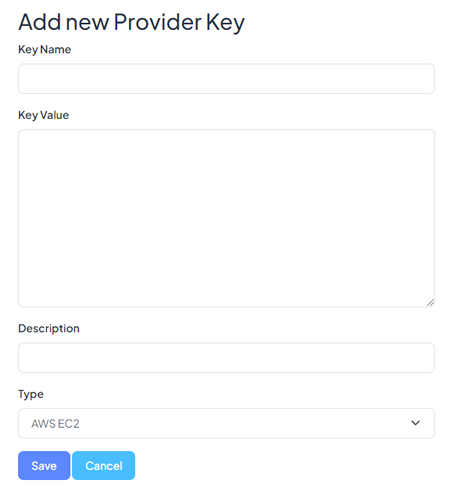
- Copy your Access Key to the STARTcloud™ Integrations
Go back to the STATcloud Integrations page, and copy:
- The Access Key (from AWS) to the Key Name.
- The Secret Access Key (from AWS) to the Key Value.
- Add an optional Description.
- Select AWS EC2 as the Type.
- Click on
Save.